As part of my fuel system rebuild, I decided to change the filter itself. Seeing as how I was going to have to remove it anyways to replace the fuel line between it and the fuel distributor, it seemed like a no-brainer. Plus the part was only $12.50.
Unfortunately DMC put the filter in a strange place and so changing it out is kind of a pain. The location is on the inside of the left side of the frame towards the rear of the car not far from the engine compartment. So to change it out you have to lift the car, take off the left rear tire, disconnect the fuel distributor fitting on the top, disconnect the metal hard line elbow fitting at the bottom, and remove 2 nuts and bolts that fasten the filter bracket to the inside of the frame. It wasn't terribly hard to get loose. I did have to tap on the elbow fitting with a hammer and use a little PB Blaster to get the hard line fitting loose. Oh and you better have a bowl handy to catch some gasoline when it breaks loose. Here's a picture of the filter removed.

I reused the bracket, replacing the padding with a new strip, and fastened the fuel line that runs to the distributor on my work bench. After I took this picture I had to loosen it up and re-adjust the positioning of the line relevant to the location of the fuel distributor. Then I tightened it back up.
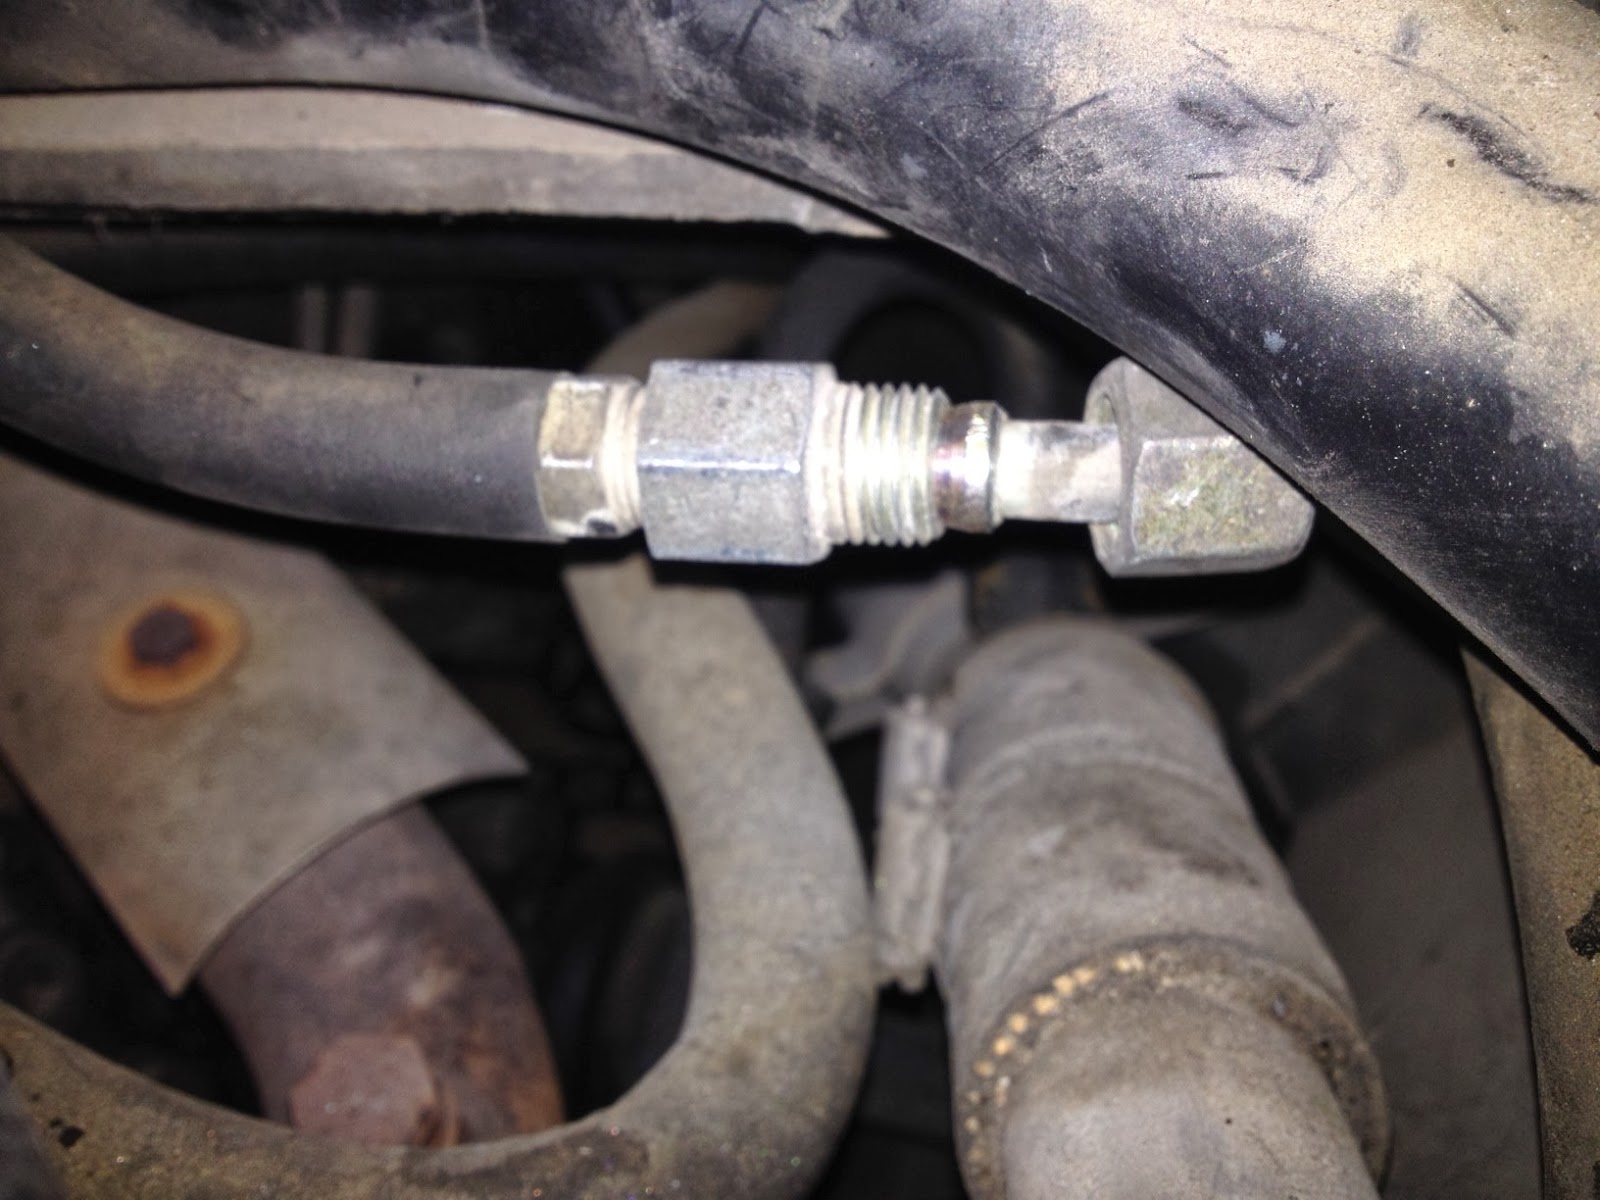
With that completed, I mounted the new filter on back on the car and connected the hard line at the elbow. The trick here is to use 2 open-ended wrenches against each other and facing straight down. If you try to get on the back of the elbow, you'll bend the bottom of the filter a bit (like I did a little). You can work it back in the other direction to straighten it out best you can but you don't want to weaken the metal too much so be careful.
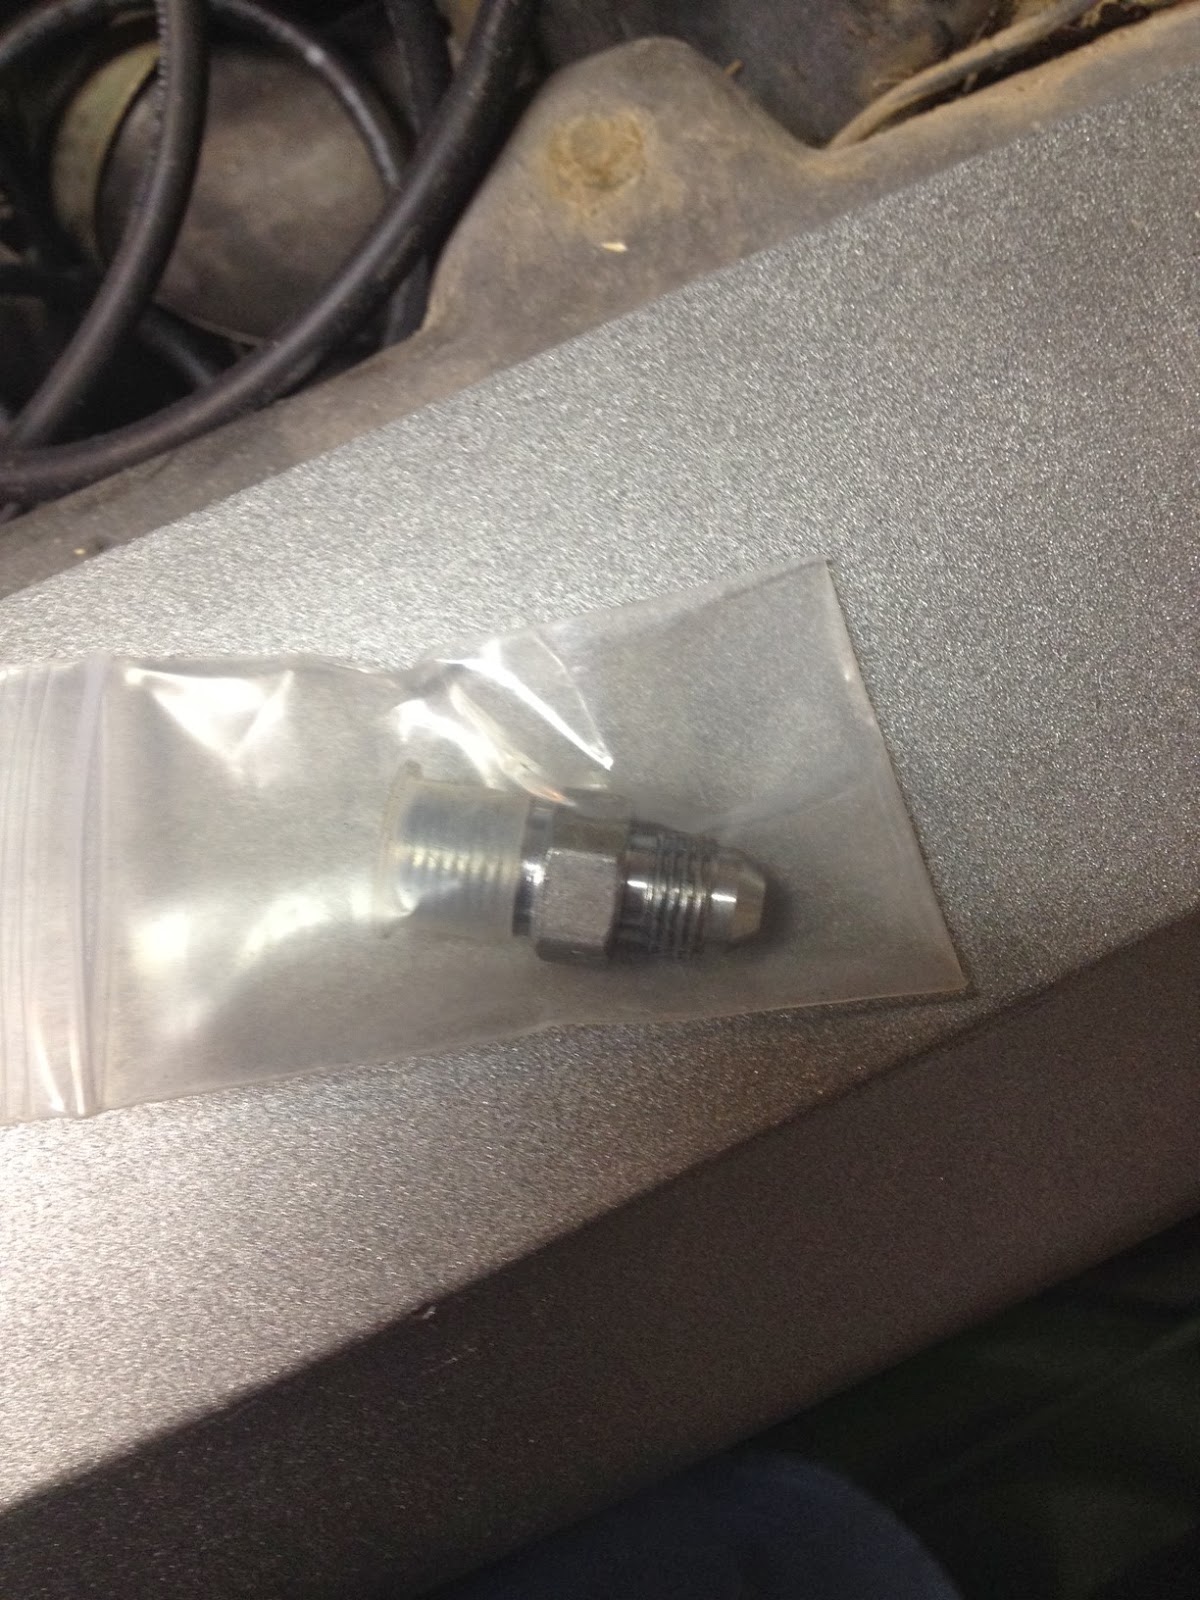
I used a little bit of Teflon tape where the elbow fits to the filter only. I did this because I noticed old tape on the threads when I removed the elbow from the old filter.
Here's a picture of how high I had to lift the car in order to get access. If you're doing this job with jacks on the ground (like me), make sure you lift the car properly and use jack stands to hold the weight.