Day 1...

Day 1...

Sunday, September 30, 2018

New Fuse Block Installed

Over the weekend I rewired and replaced the fuse block. All of the terminals were replaced as was the block itself. The old block has a couple of melted spots, which is common with these cars.

It was a fairly easy job, while the seats are still out.

Here are a couple of pictures, one near the end of the process and the other the finished product. In order to keep everything in the right place, I did one terminal at a time.


Monday, March 12, 2018

General Car Info

Hello all,

I'm writing this particular entry as a reference for new and prospective owners who are interested in common issues with these cars. I am assuming stock setup for obvious reasons. I will post another entry getting back to my car's progress soon!

First, I highly recommend prospective owners read James Espy's book: https://www.amazon.com/Illustrated-Buyers-Guide-DeLorean-Automobiles/dp/B017YCEQJ2

This book had not yet been published when I bought my car; however, I've thumbed through it since and it has a plethora of valuable information. For those who don't know James, he is the second in charge down at DMC Houston (DMCH). He knows these cars inside and out.

The following is a brief list of common issues reported by owners.
  • Fuel System
    • Hot & cold start issues (could be multiple culprits)
    • OEM style fuel pump and setup --> DMCH designed a completely new approach
    • Beware of original fuel lines for safety sake!
    • System doesn't like to sit for long-ish periods of time
  • Electrical
    • Cooling fan relays --> factory recall and most owners have after-market setups
    • Door lock solenoids --> common failures
    • Window motors --> common failures
    • Headlight switch --> DMCH designed a new approach here as well
    • Alternator --> early cars have a lower output Duclier unit prone to failure
    • Misc switches and relays --> Lucas... need I say more?
  • Suspension
    • TABs --> common failures (critical!)
    • LCAs --> common failures (critical!)
    • Front-end factory recall
  • Everything Else
    • Door struts --> consider this a maintenance item
    • Auto trans --> fluid leaks & shift computer
    • Engine block rot --> top of aluminum block in VOD
    • Rear main seal --> common oil leak spot
    • Oil senders (light & gauge) --> another common leak spot
    • Frame rust --> frames are regular steel and susceptible to rust
    • Interior trim --> pricey and some pieces are NLA
Most of the parts are available; however, some you have to really hunt for or find a vendor/source that has made a run of repros at some point. The parts in general are at least 2x if not higher than your average late model domestic part comparable component. 

Sunday, September 10, 2017

Carb Conversion Part II

The carb conversion is now complete. I spent the majority of Saturday afternoon completing the remaining items to finish the conversion, which included:

  • Plugging the line on the back of the accumulator
  • Removing and running a new 3/16" ID trans modulator vacuum line
  • Removing the old fuel filter for the K-Jet system
  • Running a keyed (+) 12V wire to the electric choke
  • Shorten and set throttle and trans cables
  • Install metal fuel line between carb and pump
  • Install new compression fitting and barb for supply line to pump hose intake
  • Cable management and cleanup
I think that covers everything. Here's a current picture of what the finished install looks like.


Before I can start the car, I need to get some fresh gasoline and a jug of coolant because the tank is a little low. I plan on doing that tomorrow on my way home from work. 

This has been an exciting and smooth conversion. I'm very pleased with how everything has turned out up until this point. 

Thursday, August 31, 2017

Carb Conversion Part I

Earlier this week I received my "turnkey" carburetor conversion kit from a designer/fabricator/DeLorean owner in North Carolina. The kit has essentially everything needed to convert from Bosch K-Jet CIS fuel injection over to carburation.

Sunday I started tearing down the K-Jet system and boxing up the parts.


I ended up with this...


Monday and Tuesday I started making preparations for the new intake and carb setup. I started by installing the mechanical fuel pump on the back of the passenger side cylinder head. Then I removed the high volume electric fuel pump in the tank and replaced it with the custom fabricated fuel pickup. For now, I plan on repurposing the old K-Jet return line (metal) to be the new low pressure supply line to the new fuel pump. 


You can see the fuel pump in the upper right corner of the picture above. I have not connected it to the carburetor yet. 

Wednesday I installed the intake and carburetor. I also installed the PCV valve and new vacuum hoses running between the air filter, oil filler cap, and intake vacuum.


I still have the following tasks to complete before I attempt to start the car with the new setup:

  • Shorten and connect the throttle and transmission cables to the carburetor
  • Install the metal fuel line between the pump and the carburetor
  • Purchase and install a new 3/8" ID vacuum line between the brake booster supply and intake (red disconnected hose in the previous pic)
  • Purchase and install a vacuum line adapter to go from 3/8" down to 3/16" male so I can connect to the 3/16" vacuum connection on the intake. This is a tapered vacuum line only used on cars with auto trans
  • Cleanup a few more small components left over from the K-Jet, lambda, and evap control systems (vacuum delay valve, vacuum solenoid, ECU, K-Jet supply fuel line from the top of the old fuel filter). 
  • Remove the old compression fitting on the repurposed metal fuel line I'm now using for fuel delivery from tank to engine bay. Ideally, I would like to put a barb or some type of safety measure on there before I clamp a low-pressure hose directly to it. The other end of the hose will go to the inlet on the mechanical fuel pump. 
Here is a picture of what it looks like at the moment.


I will likely be out of town this weekend so not sure how much progress will get made here over the next couple of days. Stay tuned...


Sunday, July 30, 2017

New fuel system in the works!

I have been bad at keeping this site updated but truthfully not much progress on the car has been made since my post last year. Essentially, the car will only run properly after warm-up and I was never able to get the cold start issue resolved. Honestly, I'm tired of throwing chunks of money on specialty tools and parts for a 35 year old mechanical fuel injection system.

I have decided to replace the K-Jet system with carburation. I really struggled with this decision on a couple of different levels. First, I am a purist and really desired to keep the car as close to original spec as possible. Second, after deciding to change the fuel system, I wanted to go with a more modern configuration. The modern choice is EFI; however, the costs, lack of knowledge on my end, and thought process that I might be replacing one fiddly thing with another pushed me to go with a simplistic approach.

I made this decision in June of this year and have been working with an individual to put together a turnkey solution. Provided this strategy is successful, I will likely be selling the K-Jet parts and tools to recoup some of the costs of the conversion. I hope to have a progress report soon and will post the details here when they become available.

Monday, July 11, 2016

Mixture Set & Car runs OK now

I think the car still has some warm-up issues and some idle issues but for the most part, the fuel system seems relatively sorted now. It should be, after all I think I've replaced everything except the frequency valve. Here's a video of the mixture set. I had the main vacuum line plugged during this adjustment but have since confirmed I don't have any vacuum leaks.

In this video the car idles around the 800 RPM mark and seems happy. The car is fully warmed-up with the cooling fans running in the front. You can hear what sounds like a vacuum leak but is actually just the pulley on the AC compressor. It will need some attention at some point in the near future.

With the majority of the fuel system gremlins now hopefully behind me, I'm focusing on moving on to some of the other areas of the car. I'll likely be looking at the HVAC system as July in Texas equals the need for AC. Since I've had the car, the blower has never worked. I found some disconnected wires behind the console controls so I'll be looking there first.

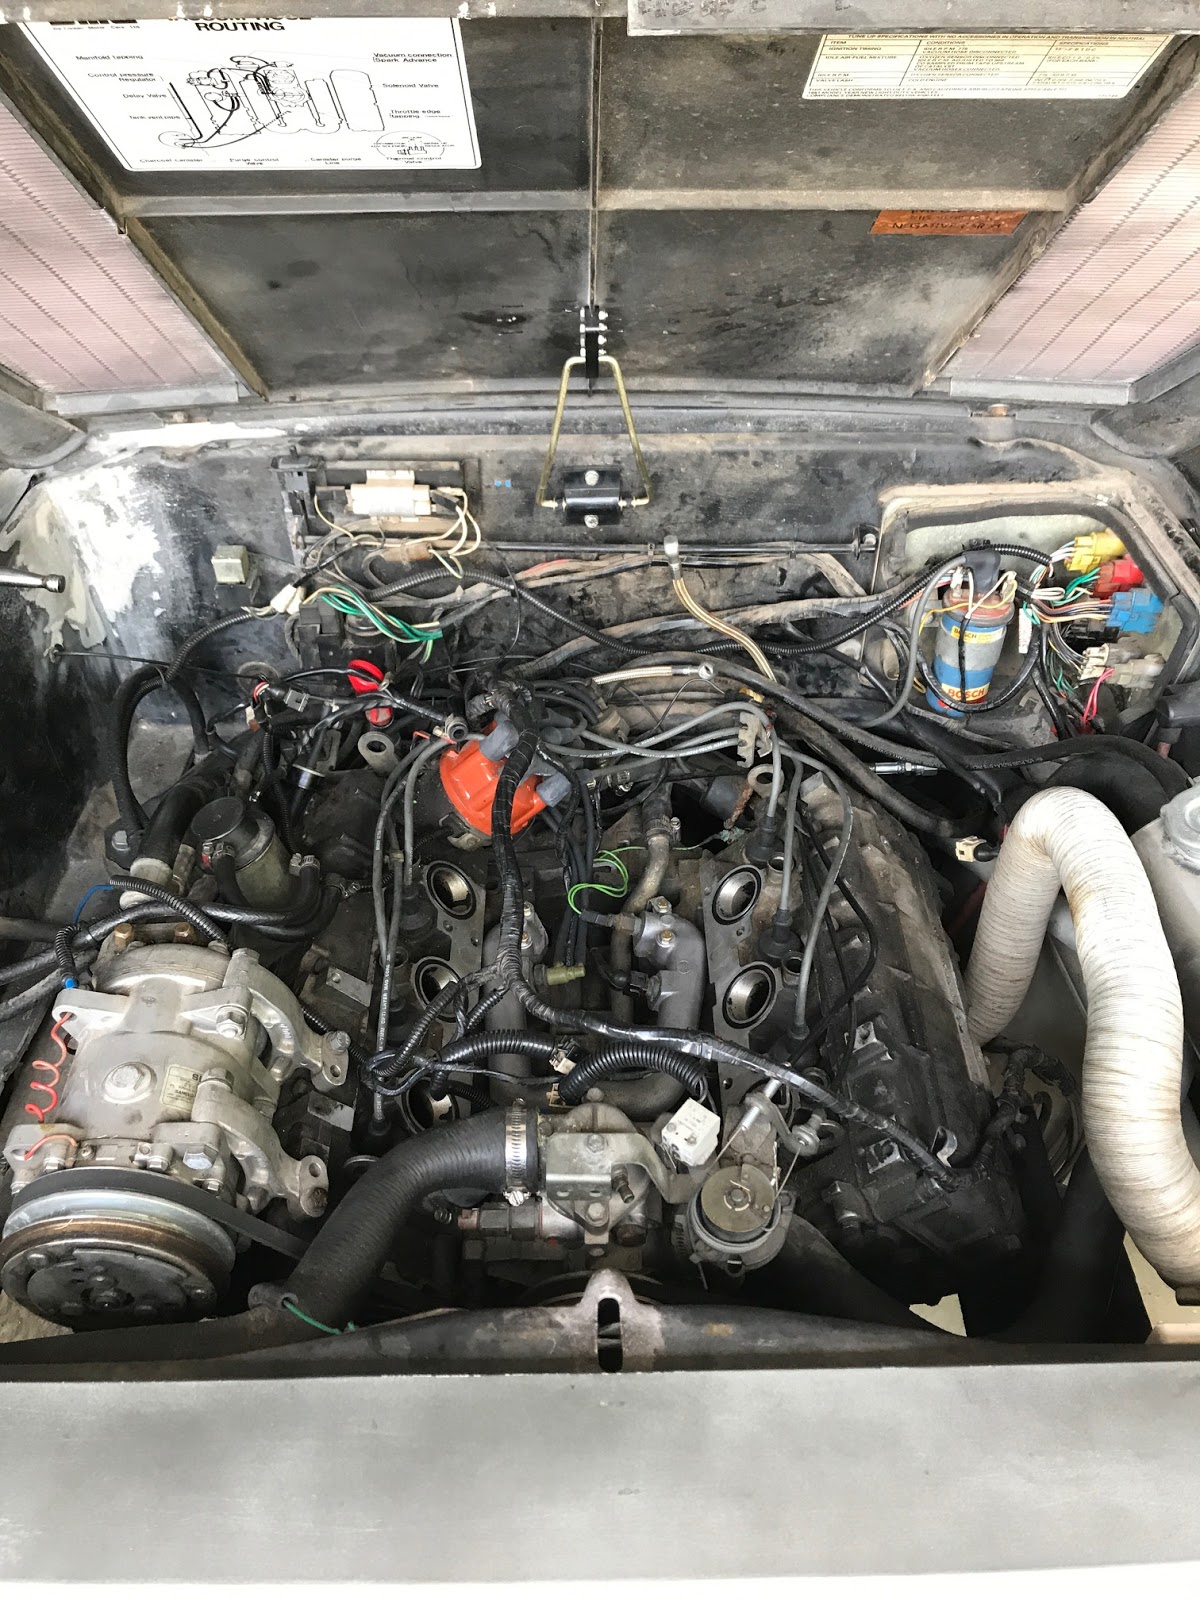
I'm also going to be working on getting the passenger window motor operational (another item that has never worked since I've owned the car) along with some interior cosmetic jobs. In the meantime, here's some pictures from last weekend when I pulled the car out of the garage for the first time since September 2013.


I gave the car a bath for maybe the first time in my 4 yr ownership. It was a good day!

Monday, May 23, 2016

Running Order?

Yesterday I was able to get the car running in seemingly good order albeit for a brief period of time. I found the RPM relay to be possibly bad as the car ran great off a jumper wire for the fuel pump. The new O2 sensor didn't hurt anything either. The car did not run rich and smoke like it was before. I got it up to operating temp but had to shut it down as I'm low on coolant after doing the VOD a while back.

You can see some heat/burning on a couple of the solder joints in the pic below.

A new RPM relay is on order. I'm also going to start working on a permanent solution for the cooling fans. All in all, the car seems to be on the mend! I'll update again soon hopefully with more positive news.

Monday, April 11, 2016

New O2 Sensor

Saturday afternoon, I replaced the O2 sensor. The location of this little demon made it a real chore to remove and replace. It's located just behind the catalytic converter on the exhaust outlet, which is subsequently a couple of inches or so away from the engine cradle portion of the frame.

I was able to get it by using a 7/8" tappet wrench and coming at it from the forward side of the engine compartment. I had to lift the rear of the car off the ground several inches and remove the left rear wheel and tire to make room for access.

In the end I was able to get it removed. Installation of the replacement was much quicker once I figured out the best way to get the old one off. I cleaned up the electrical spade coming from the ECU as well while in there.

I have not tested the new O2 sensor yet as I ran out of time over the weekend but I plan on starting the engine this week to see if any change occurs. Here is a pic of the old sensor. It has a lot of carbon buildup and a raw fuel odor to it.


Tuesday, March 8, 2016

Still sorting out fuel system demons

When this is all said and done, I should be an expert with this Bosch K-Jet mechanical fuel injection system. It's been frustrating to say the least but informative and I refuse to give up and pay someone to fix this. It's a pride issue now!

I purchased a replacement fuel distributor from DPI. Josh pulled it off a known good working setup so I shouldn't have to worry about this being DOA. I also swapped out the upper air mixture unit. After assembling everything back and trying to start the car, it still runs like crap. I suspect everything is pretty far out of adjustment so I need to adjust the mixture.

Before adjusting the mixture, I picked up a pressure testing kit off Amazon. This is the official Bosch K-Jet CIS kit that connects between the fuel distributor and the WUR with a gate valve on the WUR side so you can read pressure differences. I tested the pressure straight off the fuel distributor last night and was reading right under 70 psi. I believe that is within the operating limits but will need to check my service manual to be sure.


Wednesday, December 9, 2015

Finishing the VOD

I ended up removing the Y-pipe and cleaning everything metal with brake cleaner. The top end of the block looked good and I noticed no cracks or leaks during my inspection.

I purchased and replaced the following while in here:
  • 6 intake o-ring seals
  • 2 Y-pipe o-ring seals
  • Heater pipe hose (silicon blue)
  • Water pump hose (silicon blue)
  • All applicable hose clamps (came with the hoses from PJ Grady)
  • Y-pipe bolts and washers (used anti-seize upon reinstall)
  • 5/32 vacuum lines between the WUR, Vacuum advance, and intake back to the Y-pipe thermal vacuum switch
  • 10mm silicon hose (red) between the right intake and the main vacuum from the booster line
I also purchased and will be installing a replacement throttle cable as mine is perished beyond repair and sticks sometimes (has since I've owned the car).

Finally, I purchased an otterstat ahead of my plans to replace my manual fan switch with a permanent replacement sometime this spring.

Once I get the intake re-installed, I'm going to work on the upper air mixture assembly and then eventually the fuel distributor. I've purchased a used replaced upper air mixture unit and plan to clean it up and try it first with my old fuel distributor.

Here are some before and after pics of my VOD job.


Monday, October 26, 2015

VOD & Mixture Adjustments

Unfortunately I don't have much to report. My car hasn't seen much in the way of repairs or troubleshooting over the past couple of months until last weekend. After making a mixture adjustment a couple of months ago, the car would start right up but not run very well. I put in some fresher gas last weekend and tried to fire it up but it was back to the same old shenanigans of the cold start issue, having to push down on the air-plate to prime the injectors.

Once I got it going, it ran rough and was dumping moderate black smoke out the exhaust. I could also hear the mixture plate sucking air when it would idle down and almost die and then fade away with higher revs. After warming it up and seeing no change, I was going to try and adjust the mixture but couldn't get the plug out without removing the mixture unit again. Knowing this, I decided to go ahead and tear everything off the top of the motor and do a VOD (Valley of Death) cleaning and inspection while in there. This area is noted for being one of the weaker spots of the engine in terms of block rot.

After removing the intake, the VOD looks surprisingly good at first glance. I plan on working more on this and cleaning it up this week. More to come soon hopefully.


Tuesday, July 21, 2015

New Poster

I purchased this earlier this spring. It's a color print of John DeLorean in March of 1979 with the car known as "Proto 1". Proto 1 is the first usable prototype DeLorean that was built by Bill Collins. Here it was being used for a promotional photo shoot just outside Palm Springs, CA. Later in the evening it was used at a promo event in a hotel lobby.

Proto 1 still exists today and was recently purchased by the DMC franchise in Bonita Springs, FL.

A second prototype car ("Proto 2") was built similar to this one and sent to Colin Chapman at Lotus where he would end up re-engineering the car to its production style we know today. Sadly, this car was destroyed circa 1996 by Lotus after it sat in their backyard lot for ~17 years.

I hung it in my work office today and I'm pleased with the outcome.